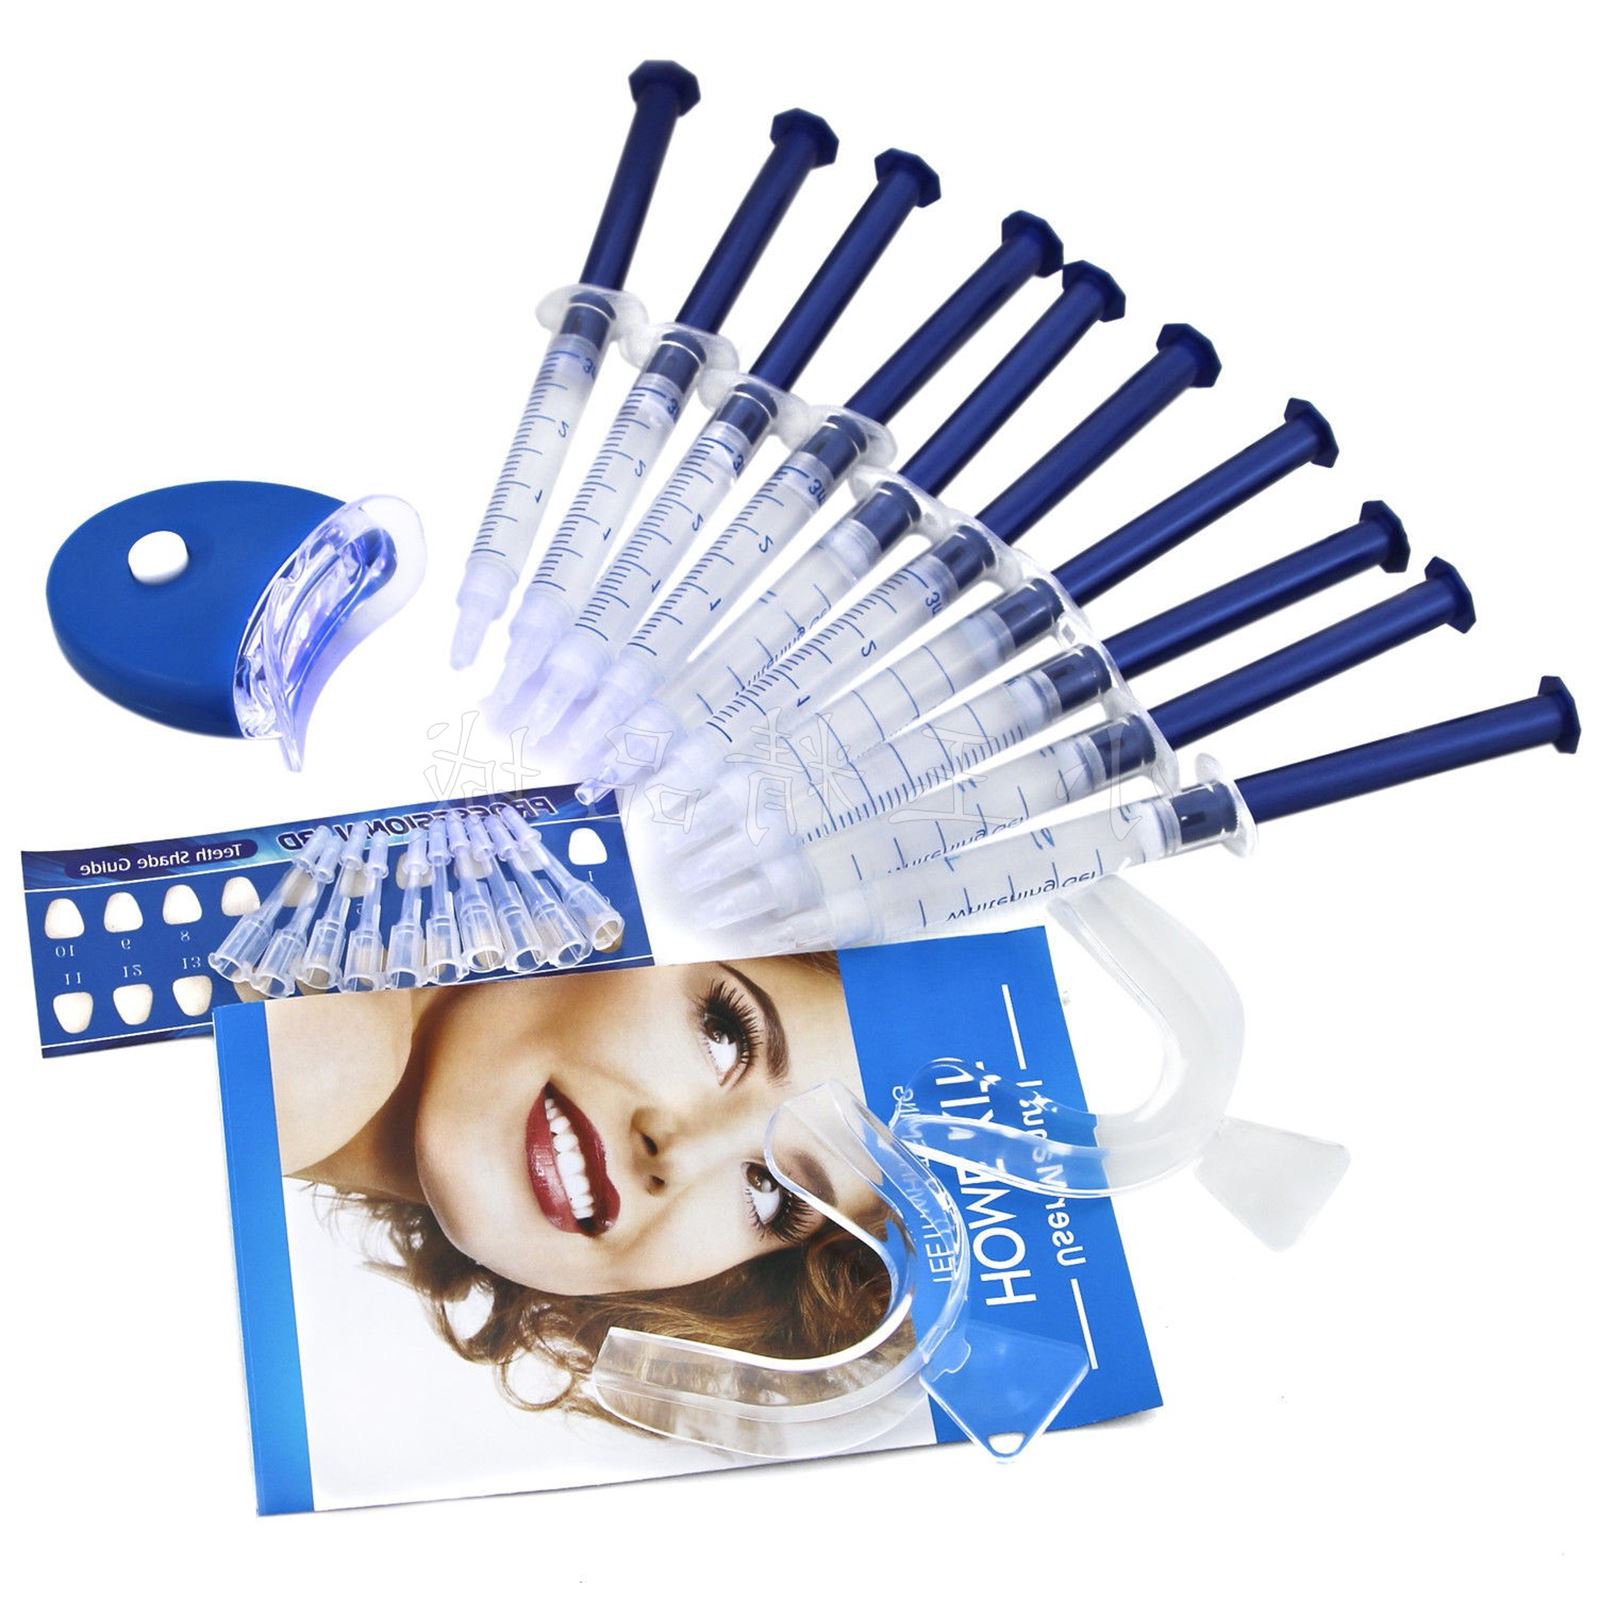
Package included:
10 X Whitening Gel(3ml per)
2 X Latest design thermoform single arch trays
1 X Mini cold light whitening lamp
1 X Professional 3D Teeth Shade Guide
Instructions for Professional Dental Whitening product:
It is important that you apply the teeth whitening product properly so you do not waste any of the product and that you experience the least amount of sensitivity while using the product.
1. Prior to Treatment: Brush and floss just prior to whitening your teeth. The whitening product is the most effective with clean teeth. Try the trays in first without any beach to check the fit and comfort. Make sure that the whitening trays are clean and dry before applying the whitening product. Moisture reduces the efficiency of the whitening product and slows down the whitening process
2. Applying the whitening product: When you apply the product make sure not to fill the trays. Place a SMALL drop of tooth whitening product half way up on the inner front surface of tray (in the front of each tooth in the tray). Do not spread the whiten around. Recap the syringe for next treatment until empty. The average treatment per arch requires approximately 0.5ml of whitening product. We recommend that you only whiten the front 6-8 teeth as no one sees the back teeth.
3. Inserting the whitening Trays: Insert whitening tray in the mouth over the teeth. Seat the tray firmly against the teeth. Wipe the excess product, which seeps over the brim of the tray onto your gums, by holding the tray up with one hand, wipe the excess product off of the gums with your finger or tissue.
4.a. Wearing Time: We recommend that if you have not whitened before, use for 15 minutes to 30 minutes the first time and increase the wearing time if there is little or no tooth sensitivity.
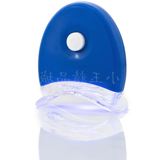
4.b. Take the mini LED light and open the back. The light has a transparent plastic tab that needs to be removed to allow the batteries to make contact. Once the tab has been removed press the white button to turn the light on. Once the trays are filled with the product and already in your mouth, place the light in front of your teeth - as close as possible - for as long as the treatment lasts.
(Hands-Free Tip: With the holding tabs cut off, and the tray inserted into your mouth, you can hold the mini LED in place with the clear shield between the tray and the inside of your lips.)
5. After Whitening: Remove the tray and rinse off your teeth. Brush any remaining product away. Brush, floss and continue routine dental cleaning.
6. Caring for Your Trays and product: Clean whitening trays with a toothbrush or Q-tip and cold water. Store trays in the tray holder and product in cool dry place away from heat and direct sunlight. The product may be refrigerated to prolong the shelf life, but do not freeze.
DENTAL WHITENING product CAN BE REFRIGERATED FOR LONG TERM STORAGE. Shelf life is 1 year un-refrigerated and 2 years refrigerated.
Here is how it works:
Step 1: Place the tray over the upper teeth without placing the tray in boiling water. Practice with your tongue on the roof of your mouth and touching the inside of the tray. Suck the air from the tray. This contours the guard to the inside surface of the teeth. When finished repeat with the lower tray.
Step 2: Bring water to a boil. The bowl should be at least 4" deep to ensure the tray's full immersion. Remove the container from the heat and place one tray in the hot but not boiling water. Leave the tray in water for 5 seconds. Make sure the edges do not fold onto each other.
Step 3: Lift the tray vertically from the water using the tab. Carefully and quickly place the tray around the teeth and then immediately perform the procedure outlined in step 1.
Step 4: Once you are satisfied with the fit, trim the front tab away from the tray with scissors. Make sure it is flush with the front surface of the tray.
Step 5: Place a small bead of product per tooth in the inside of the tray (.5cc or less per tray). The product might irritate the gums if the trays are overloaded. Insert the trays very carefully keeping the product on the teeth and away from the gums. The product Contains 44% CP.
Step 6: Wear the trays for 15 minutes. If sensitivity or irritation occurs wait 24 hours between treatments and use less product. Be sure to rinse trays thoroughly after use. Repeat process daily until you reach the desired shade.
Final Step: After completing the whitening process it is always a good idea to take a toothbrush and gently wipe away any excess product that remains on the teeth and gums to prevent any possible irritation. rinse excess product from your toothbrush completely.
Research and experience show that the whitening effect from the treatment usually lasts for years. Teeth may darken faster if exposed again to staining products such as tobacco, coffee or juices. However, the teeth will probably remain significantly lighter than if no treatment had been done. Two to four nights of tooth whitening performed at six month to four year intervals may be all that is necessary.Some difficult, darker stains may naturally require longer treatment than some milder stains. Depending on your teeth and type of staining, results will vary.
